Trezor.io/start – Your Gateway to a Secure Crypto Journey
Learn how to set up your Trezor hardware wallet step by step through Trezor.io/start and ensure your crypto stays safe with world-class offline security.
What is Trezor.io/start?
Trezor.io/start is the official setup portal for initializing your Trezor hardware wallet (Model One or Model T). Whether you’re new to crypto or already managing digital assets, this starting point ensures that your wallet is configured securely, firmware is updated, and your recovery seed is properly backed up.
Unlike online wallets or exchanges, Trezor ensures that your private keys never leave the device. Using Trezor.io/start protects you from phishing, fake apps, and unauthorized login attempts by guiding you through the safest installation route.
Step-by-Step Guide: Setting Up via Trezor.io/start
Tip: Always type Trezor.io/start manually in your browser to avoid phishing sites. Bookmark it for future use.
1. Connect Your Trezor Device
Unbox your Trezor hardware wallet and connect it to your computer using the supplied USB cable. No batteries or charging needed — Trezor is powered via USB.
2. Visit Trezor.io/start
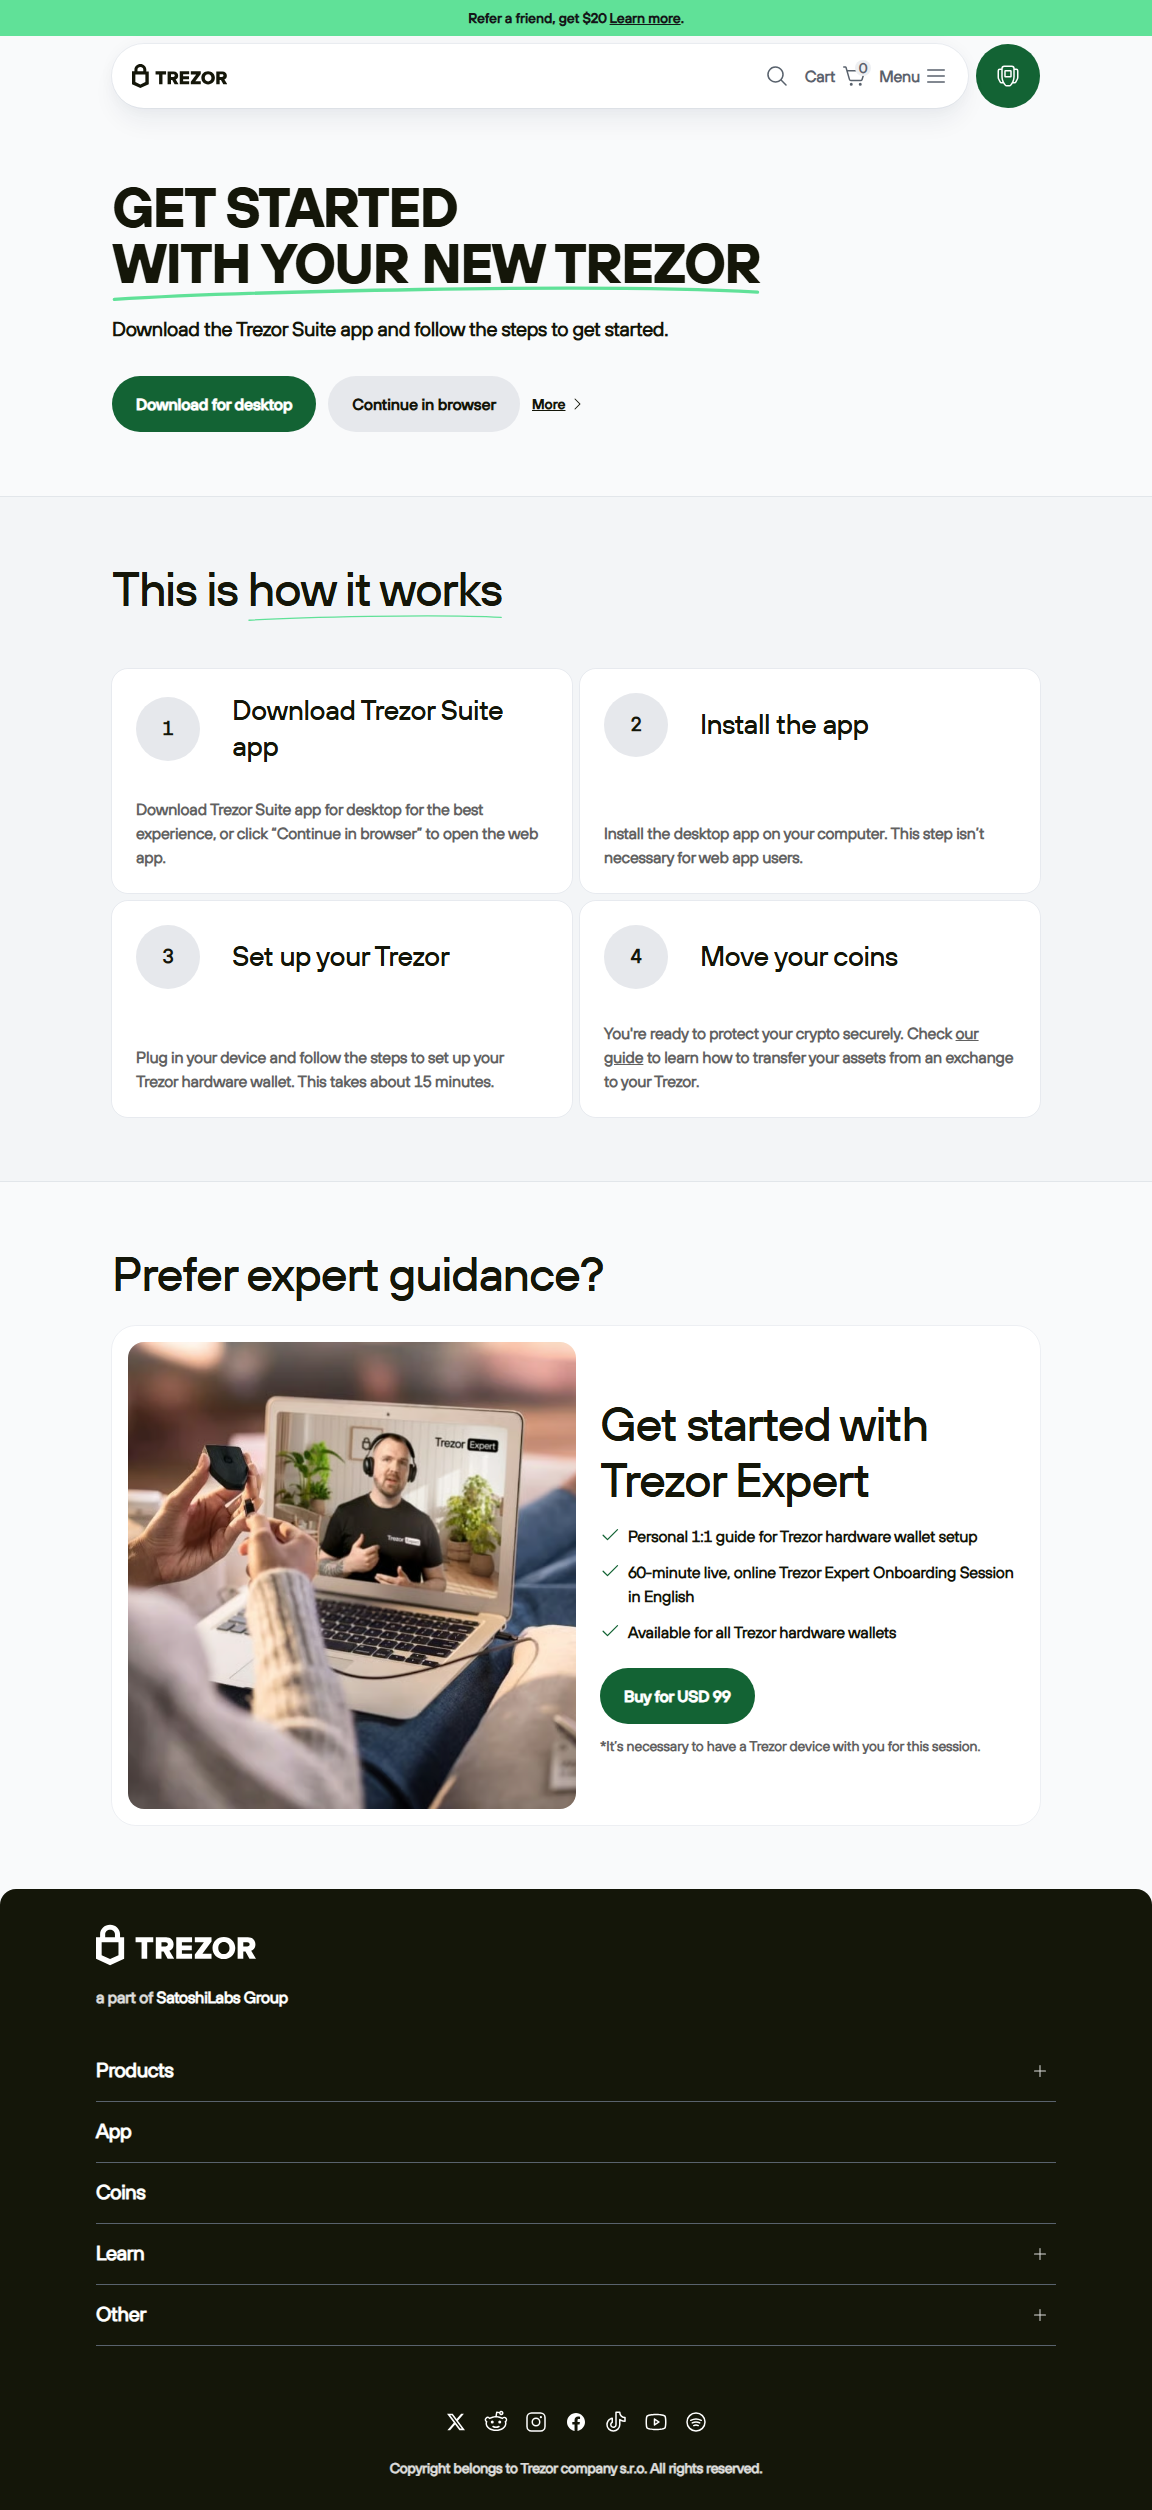
Open your browser, go to Trezor.io/start, and you’ll be redirected to the official setup page. This will guide you to download Trezor Suite, the desktop app for managing your crypto.
3. Install Trezor Suite
Download the app for Windows, macOS, or Linux. Once installed, open it and connect your Trezor device. The Suite will automatically detect the hardware.
4. Install or Update Firmware
If your device is brand new, it will not contain firmware. Follow the instructions to install the latest official firmware. This ensures security and compatibility.
5. Create a New Wallet
On the Trezor device, confirm that you want to create a new wallet. The device will then generate a 12–24 word recovery seed. Write this down carefully and store it in a secure offline location.
6. Set Your PIN
Choose a secure PIN to prevent unauthorized access. Every login will require this PIN, adding an extra layer of protection.
7. Optional: Enable Passphrase
Advanced users can enable a passphrase (like a 25th word). This creates hidden wallets, offering more privacy and protection against theft.
8. Access Your Portfolio
Once setup is complete, Trezor Suite will show your crypto dashboard. From here, you can send, receive, trade, and monitor assets safely.
🔒 Why Trezor.io/start is Safe
- Official Source: Avoids fake download links or malicious software.
- Firmware Verified: Ensures only genuine Trezor firmware is installed.
- Private Keys Stay Offline: They never leave your Trezor device.
- Physical Confirmation: Every transaction must be approved on the device.
Trezor.io/start vs. Exchange Wallets
| Feature | Trezor (via Trezor.io/start) | Exchange Wallet |
|---|---|---|
| Control | You own private keys | Exchange holds your keys |
| Security | Cold storage, offline keys | Online, vulnerable to hacks |
| Recovery | 12–24 word recovery seed | Exchange support (not guaranteed) |
FAQs About Trezor.io/start
Q1: Can I set up Trezor without Trezor.io/start?
A: No. Trezor.io/start ensures you’re downloading the genuine Trezor Suite and firmware, protecting you from phishing attempts.
Q2: What if I lose my recovery seed?
A: Without the recovery seed, you cannot restore your wallet. Always keep it safe and never store it online.
Q3: Is Trezor.io/start free?
A: Yes. The setup process and Trezor Suite download are completely free of charge.
Start Your Secure Crypto Journey Today
Using Trezor.io/start ensures that your hardware wallet is set up safely and your assets remain in your control. By combining offline security, recovery seed protection, and simple user experience, Trezor makes managing cryptocurrency both safe and easy.